TEHSPLATT
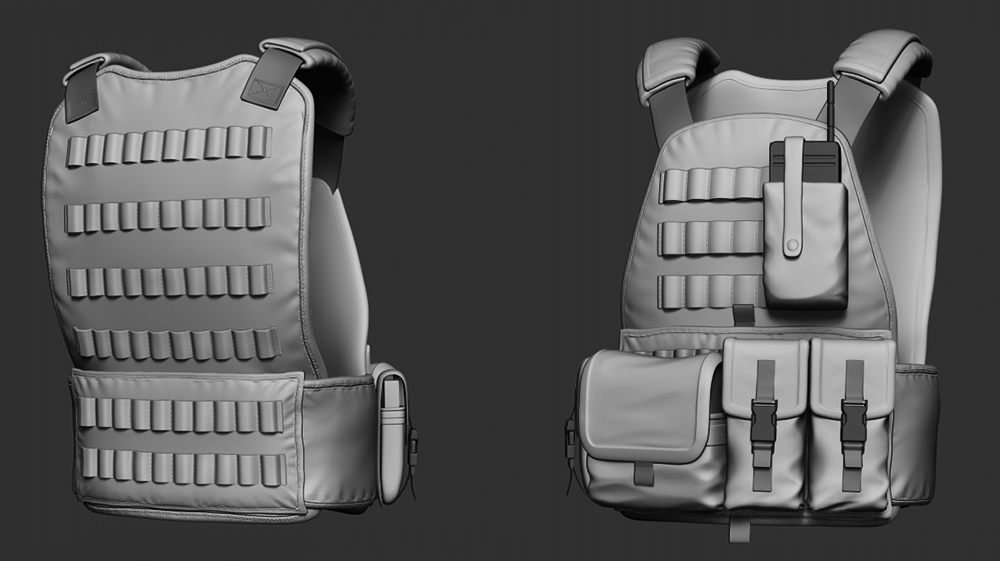
Hey guys, so this week we decided that a character update was not a priority as it would have been a whole lot of work to get to exact same point that the current character is at. After coming to this conclusion we decided to move onto gear creation and a tactical vest seemed like the perfect starting point. This is the first pass on the vest, a lot of things are still just place holders and need proper cloth folds and seams but so far so good. After trying out the new Zmodeler tools in Zbrush I’ve realized that I can build something like this almost (if not) entirely in one program, which can really speed up my work flow and allow me to build stuff like military gear and other clothes faster than ever before. Going to run some tests in the next day or so to see how well something like this will look in our game environment.
Mils
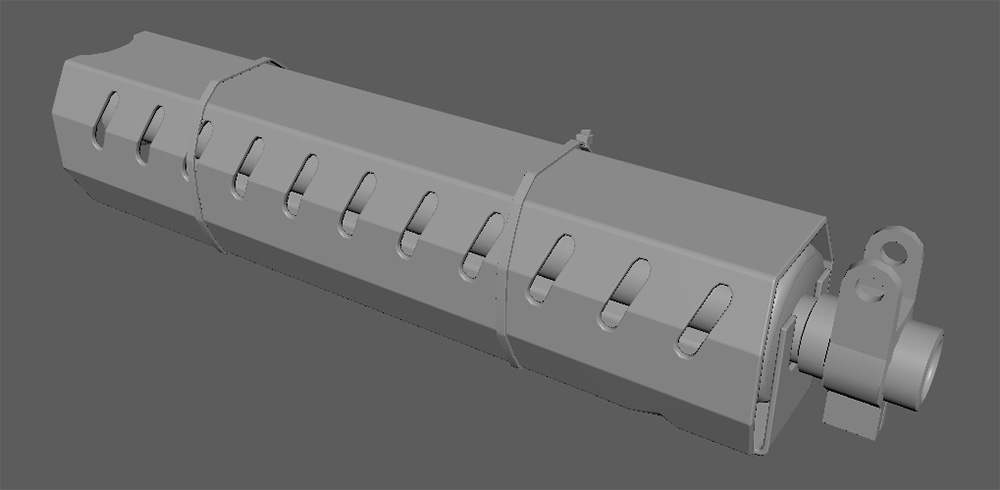
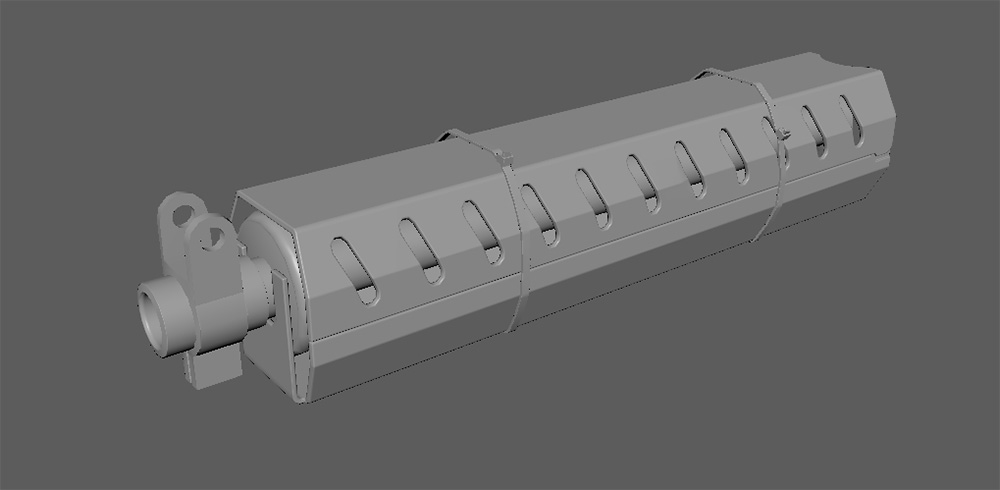
I was working on the ‘DLC” (Diemens Land Crew) graffiti skin last week, but we decided to switch gears and get all the current attachments done for the AR15. This will add a second attachment for all the slots on the gun and will help with balancing and development of the attachment systems. This will let me go full steam on model production. I am at the UV layout stage of a second Barrel Guard and should have the baking and texturing done tomorrow.

I added a couple of cable ties and dents to break up the large flat surfaces of the new guard.
Cow_Trix
Hey folks. This week I’ve working more on realtime icon rendering, and it’s coming along pretty nicely. A lot of optimisations and neatening up of the architecture have happened so things are running faster.
A recurring problem has been the handling of caches for these assets. If you ask an item what it looks like often, it’s better to save that information somewhere rather than making the item do work every time. This means that you want to tie that item as a key for some data object as a value. I wrote a little data structure that does the job pretty well, as a limited-size dictionary. You can just set the maximum size of the cache, and what it should do with elements that it pops out the back (like properly releasing RenderTexture or Mesh objects). It has a concept of when items were added, so when the cache gets too big it releases only the older objects. It’s pretty handy and it’s formed the backbone of both the data on how to display items, and the actual render textures that each itemslot is pointing to.
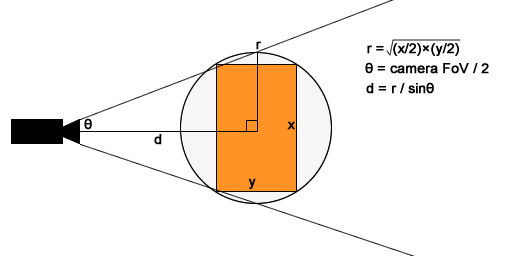
I also vastly improved the auto-zooming functionality for item rendering. If all you want is for the item to be rendered at a certain angle and you’re happy with automatic zooming, you can tell the item renderer to just try and find a best fit of the mesh. Previously I did this by placing the camera right at the origin of the mesh, and then iterating back, testing the camera planes every time to see if I was zoomed out enough. However, this just wasn’t fast enough. Although I managed with some optimisation to get it down to only around ~10 iterations, the basic math was just too expensive, so I came up with a different tactic with some nice trigonometry, you can see it below. As a tip for any game programmers – when solving geometric problems, start in 2D!
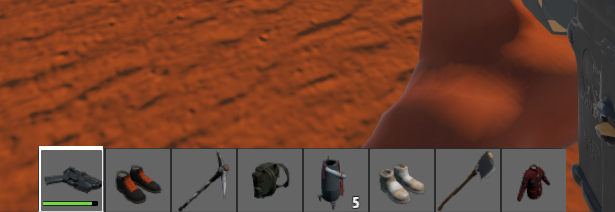
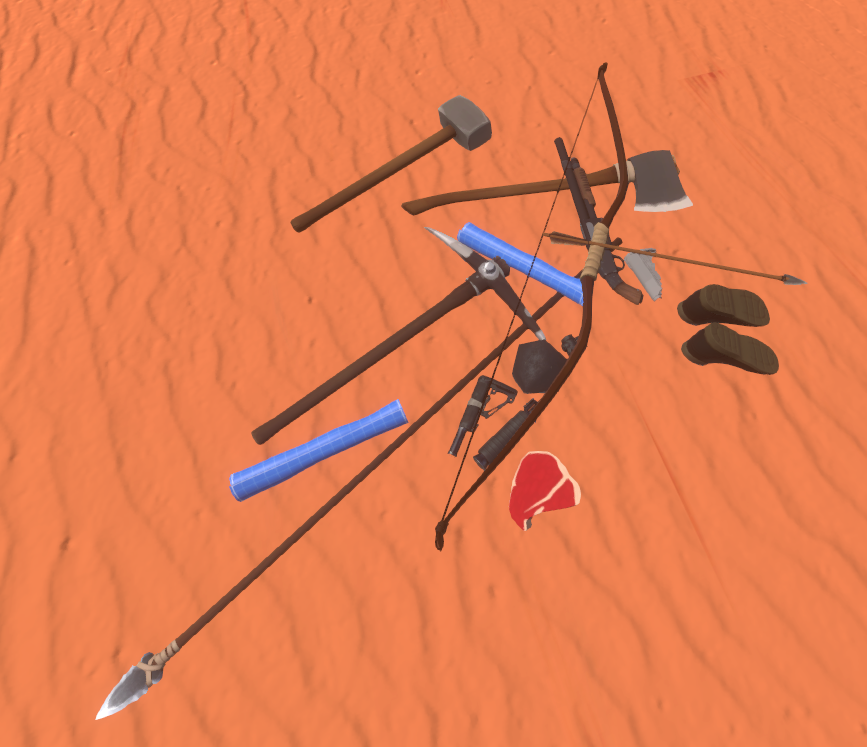
So you can see the result of this below – some procedurally rendered item icons and world items! Next up is adding effects and animations to items that need them, which will be an interesting job to do quickly. There are still a few issues to iron out with icons around getting the render texture to the UI without the blurryness and aliased edges, but most of the hard work is done.
Tom
This week I’ve been finishing up work on the 0.3.8.4 patch mostly which is rolling out as I write this, you can find the patch notes in game or here.
Thanks to everyone reporting stuff, you certainly are keeping me busy! We received many reports regarding a crouch desync bug where the server and client could get their crouch states mixed up. This would then lead to client predicted movement always being wrong and having to be corrected and players were in turn abusing this to be able to briefly look through walls and scan other players bases. Luckily we had a fix already implemented in itemv2 which was faster than expected to transfer back into the live branch. Now crouch state (and camera perspective) is properly serialized and synced across the network rather than trying to derive crouch state from player input and other data.
Another fix I worked on was removing a bug where the emote manager could get out of sync. Previously after some chaotic spamming of an emote it was possible to get an extra ‘StartEmote’ trigger that hadn’t been used yet whilst already being in an emote. This meant when you went to exit the emote the left over trigger would fire immediately after leaving the emote animation, returning you into the emote animation but unlocking all movement and allowing you to use equipped gear (like fire your guns). Now this trigger is explicitly cleared on emote exit.
The other big change in this patch was removing rigidbodies (Physics objects) from many objects.
The character controller component that we use for player movement has an easier time resolving collisions against static colliders (objects without the rigidbody component that enables simulation) so we’ve removed rigidbodies where we can to hopefully reduce players being able to penetrate through solid objects like storage chests. In older versions of Unity you needed to have a rigidbody on any collider that would move but now we only need them on objects with actual physics simulation (like vehicles) or if an object needs to be able to set off triggers (like the player). Another plus is that not having rigidbody means moving and rotating object has less of an overhead so we should see some small performance improvements from this change also.
Spencer
This week I’ve been experimenting with the best ways to structure our content and thinking through the new ItemV2 progression. There is an enormous amount to think about here, like what creatures spawn where, what properties do they have like speed, damage, colors, size, rarity, health etc. Then once they are killed, what they drop, how much they drop, when they drop a recipe, how much of what resource that recipe should cost, what environmental effects are trying to kill you in each area, how loot from creatures of that area can be used to counter such effects, how those resource should scale up as you progress into tougher areas.
Resource scaling can be approached from a couple of different angles, by increasing volume output and volume requirements (eg: tier 1 boar drops 1 leather, basic clothes cost 10 leather, tier 2 boar drops 10 leather tier 2 gear costs 100 leather), or by changing the actual resource as you tier up (eg: tier 1 boar drops leather, tier 2 boar drops 1 Amazing Leather).
After trying to design all this stuff using spreadsheets and difficulty curves, I’ve gone back to basics of throwing a bunch of stuff into game and playing around with it till it feels right.
There are too many variables to think about at once to get interesting synergies between parallel progressions.
Right now I am testing a build where Shigi’s are basically slot machines, dropping blueprints to upgraded bows that hunt shigis better. Once I get something together that has the magic fun element to it I will put it up on experimental.
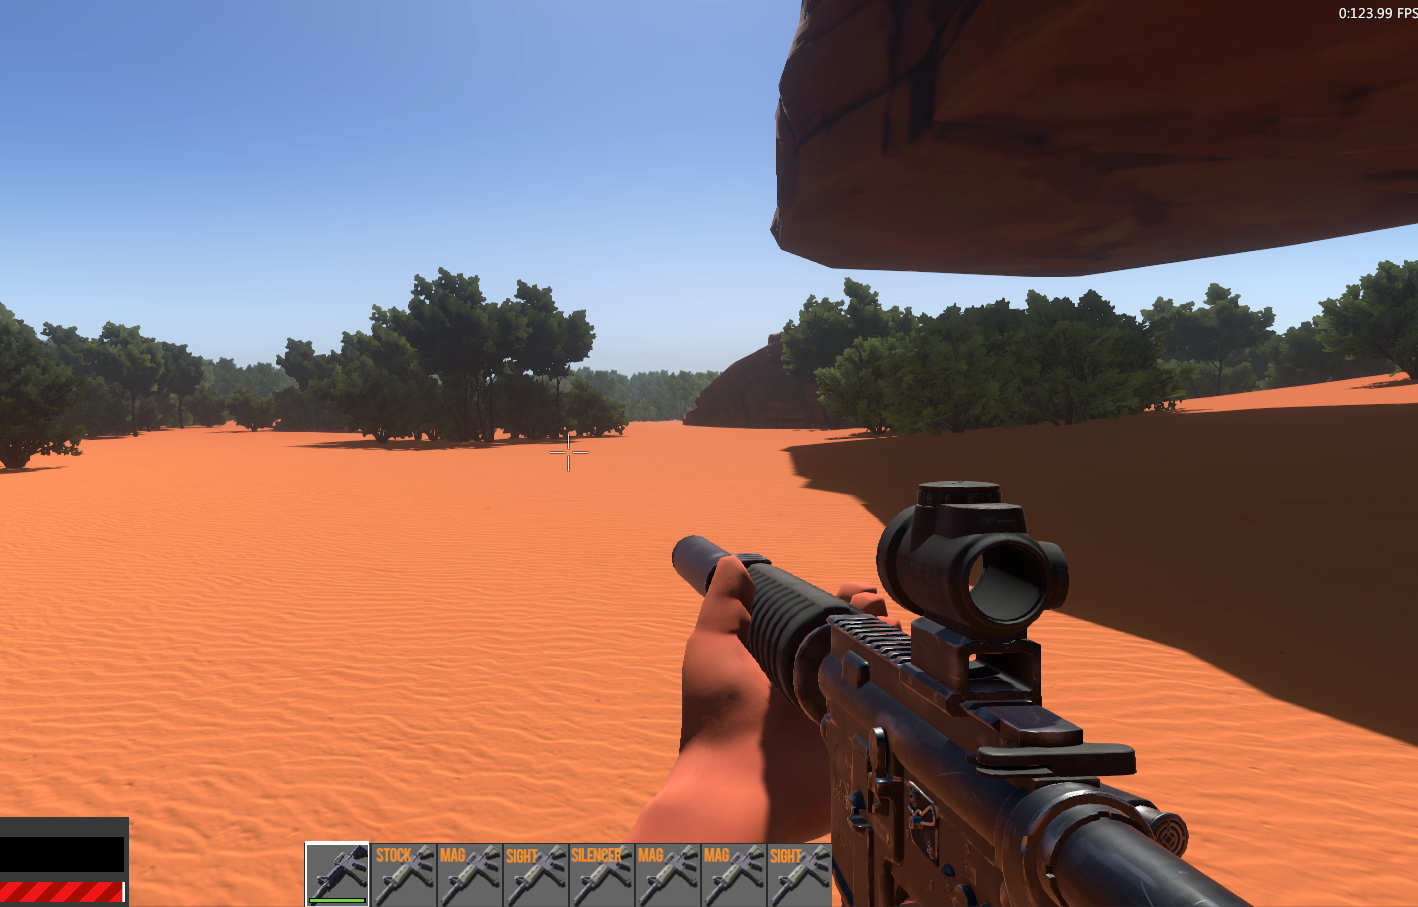
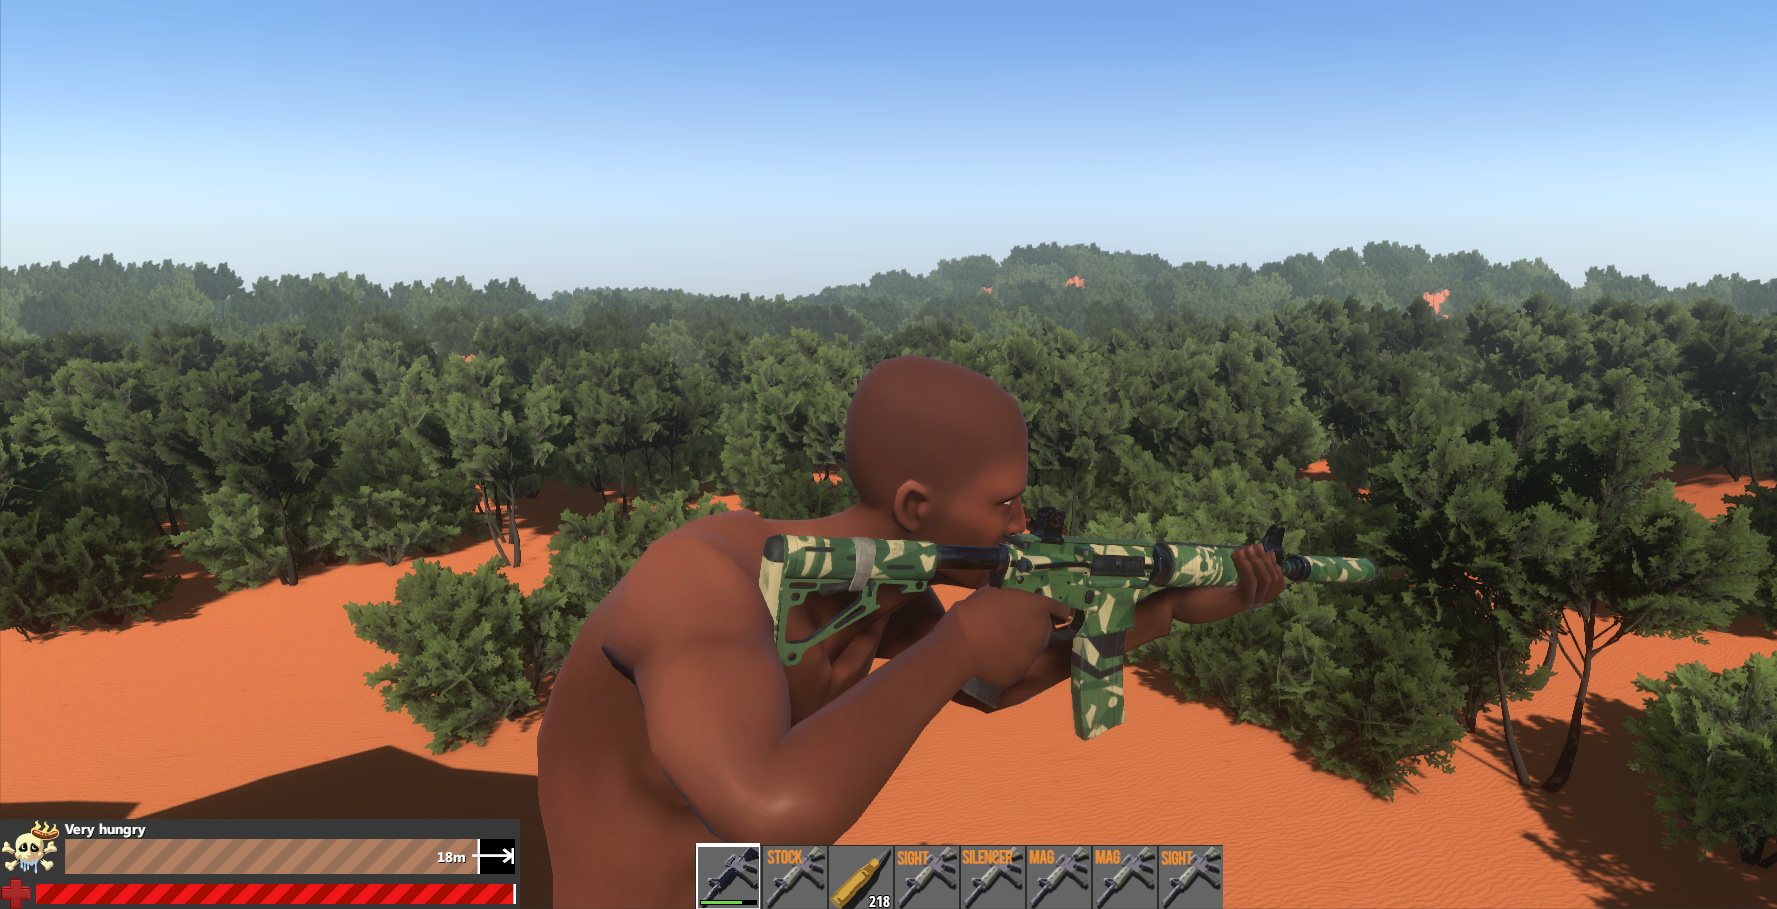
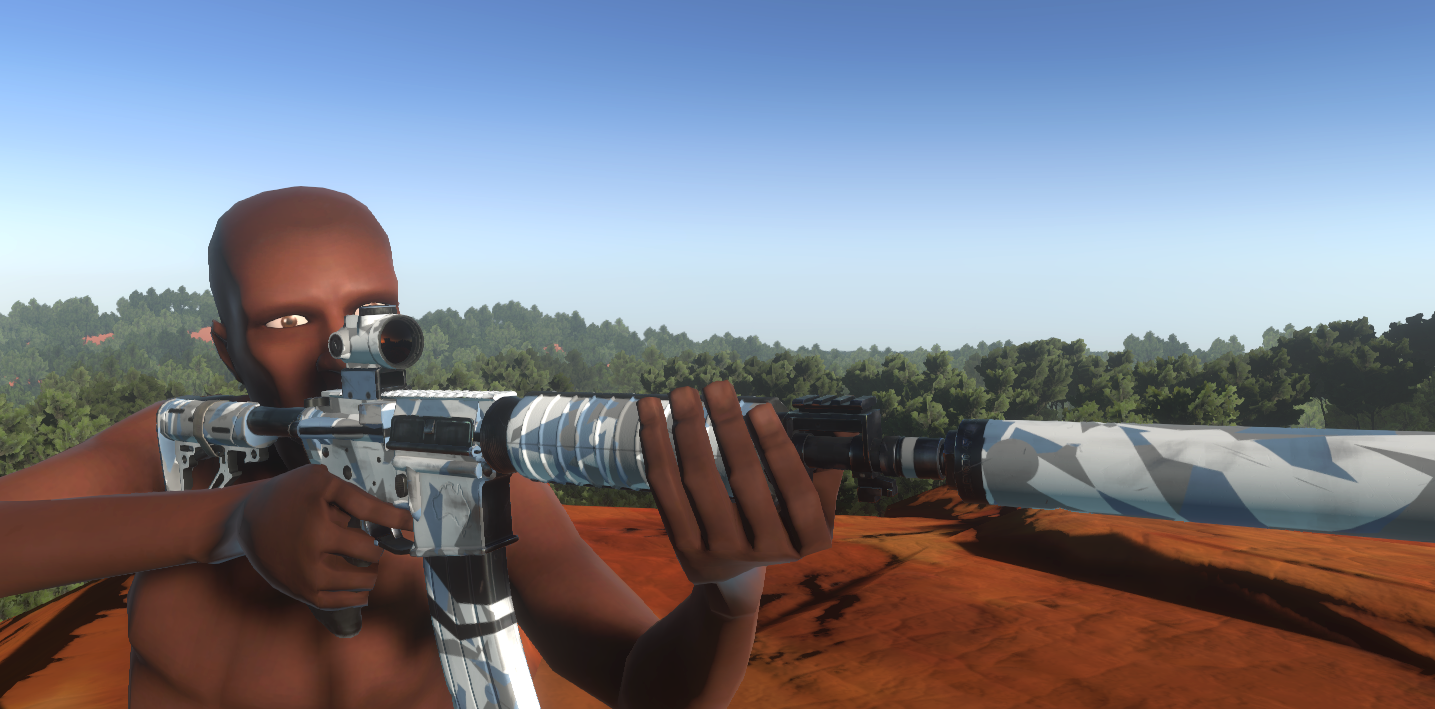
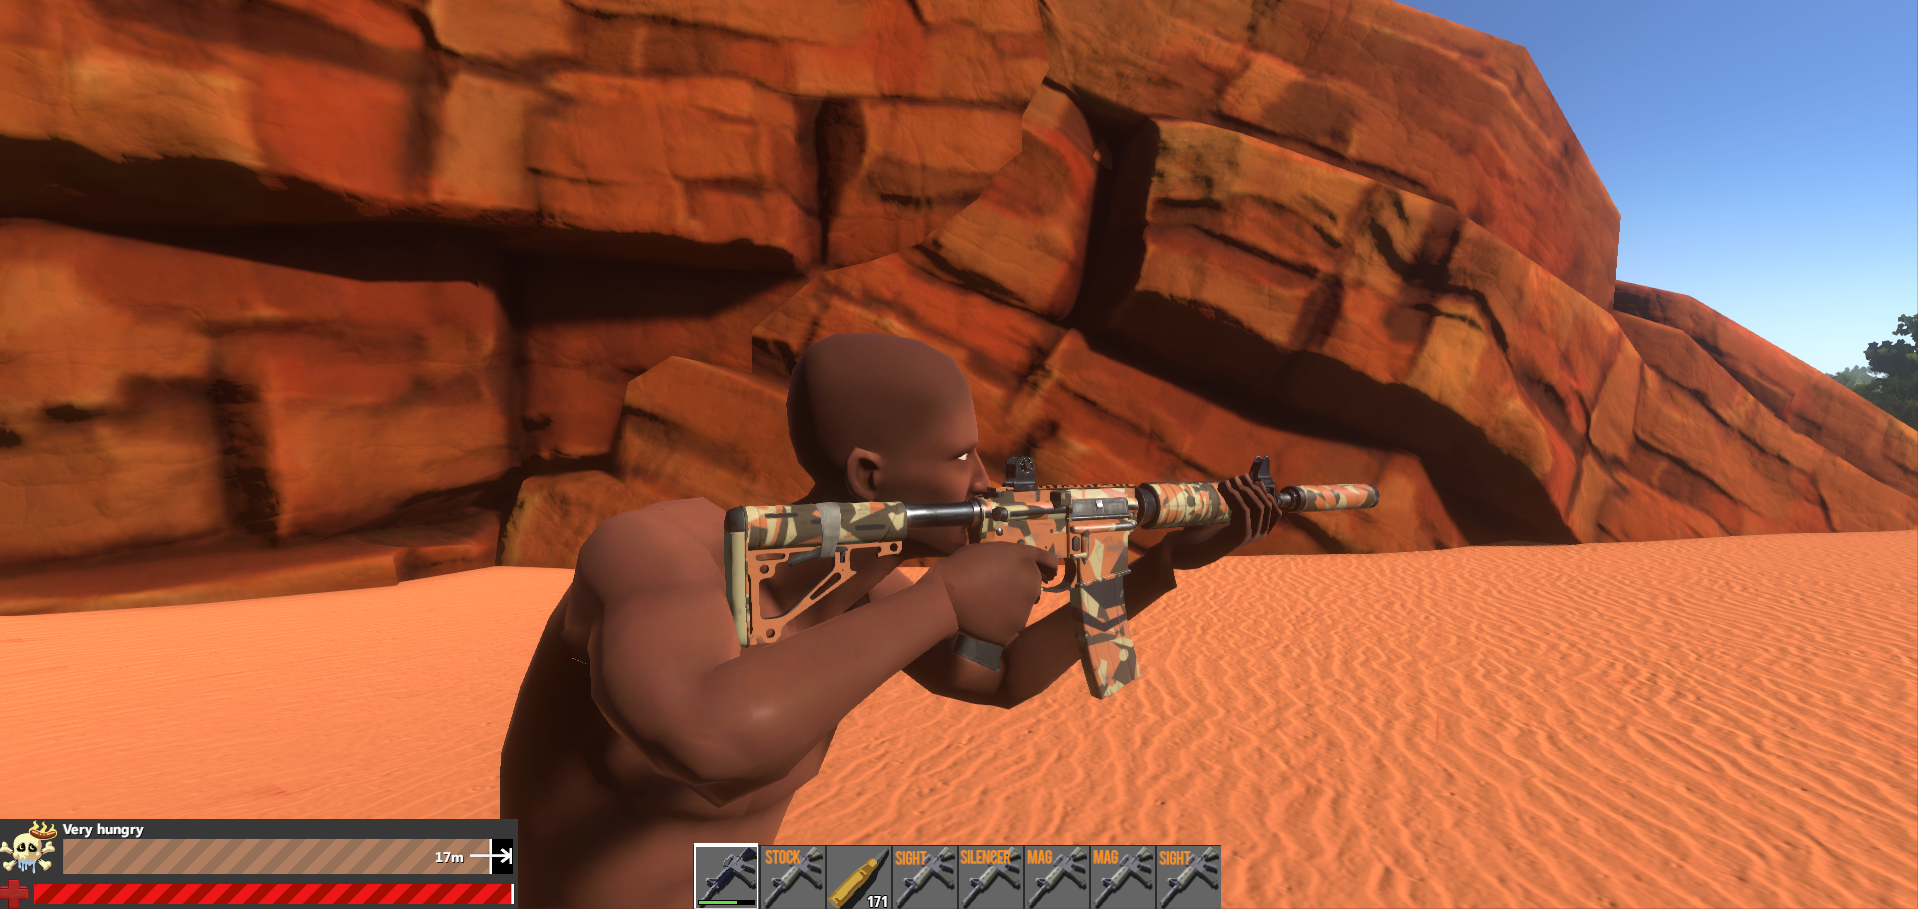
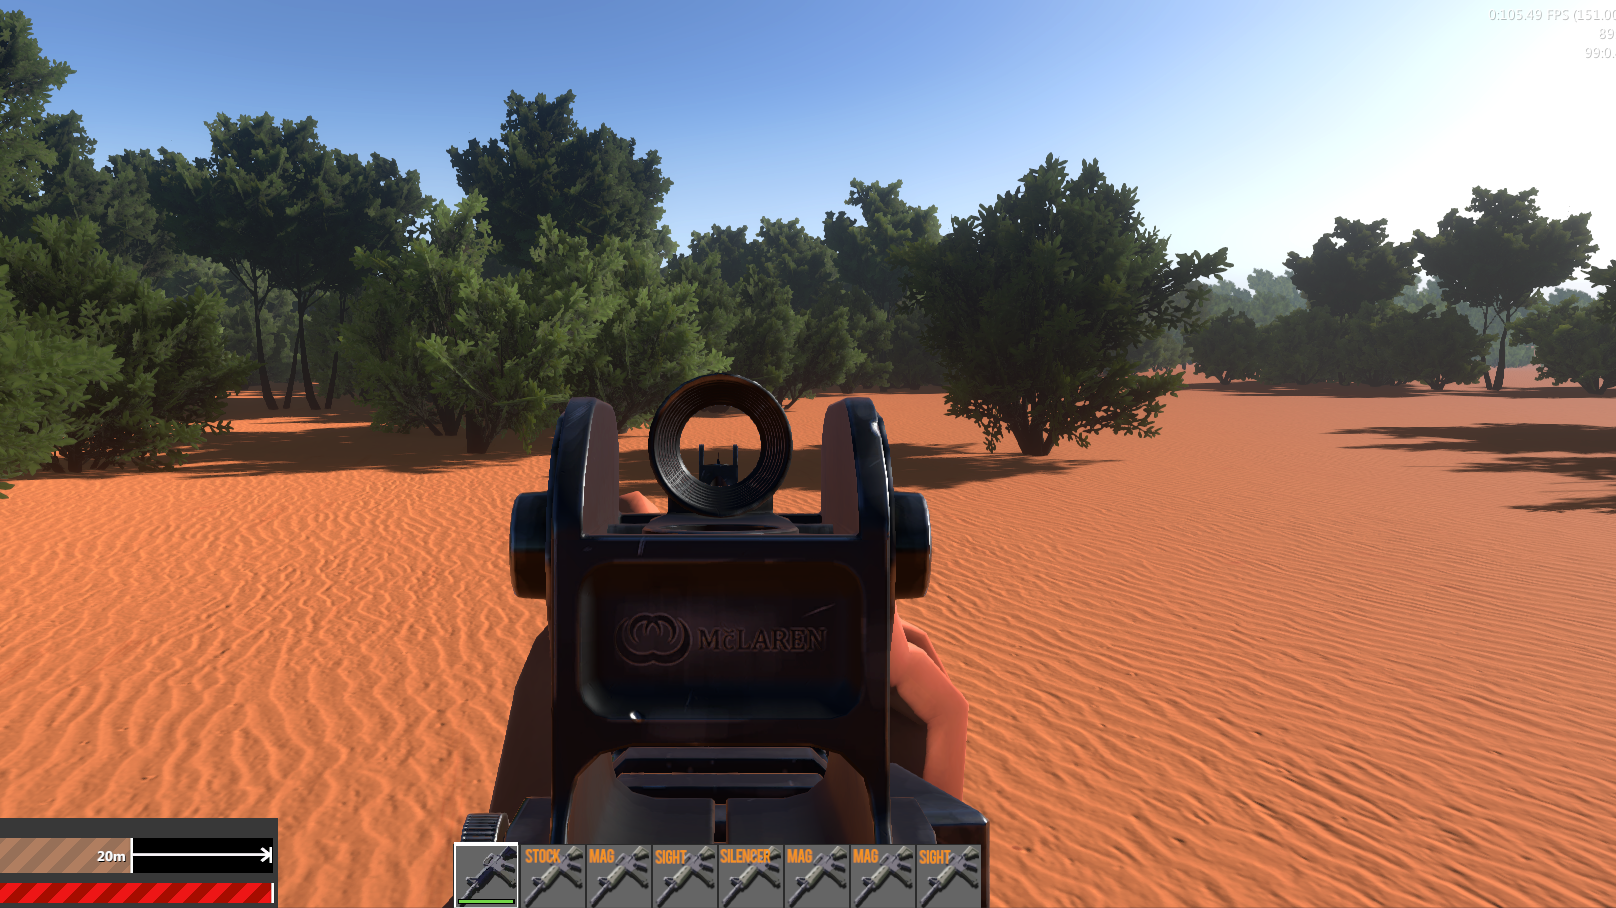
I spent half an hour dicking around with the gun painting system now that the AR is mostly complete, here are some glory shots!